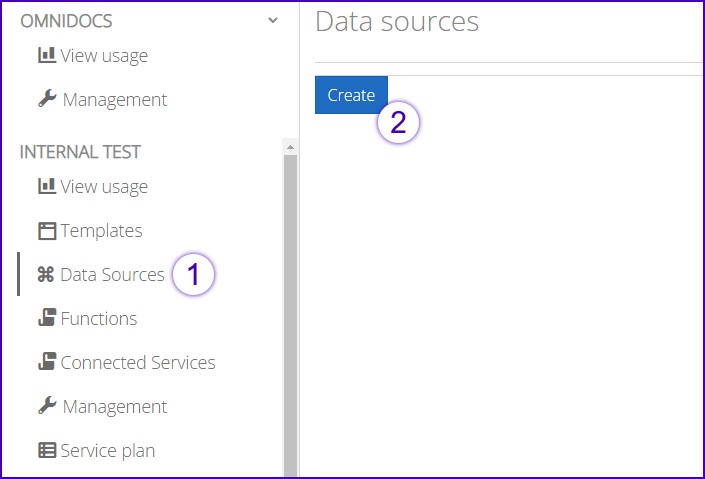
A data source represents static data that can be used within your transformation. This guide will explain how to create a data source. To learn how to use a data source in the transformation see this guide. To create a new data source, do it under the Data Sources navigation section. It is recommended to name your data source according to the purpose of the data it holds.
Configuration
When a Data Source has been created there are two ways to configure it. It can either be done by creating a data table or by writing it in a JSON data structure. To switch between the two the user can click the switch button in the top right corner.
When the data source has been created the save button, to the right of the switch button, should be clicked to save the data source.
Creating a Data Source as a data table
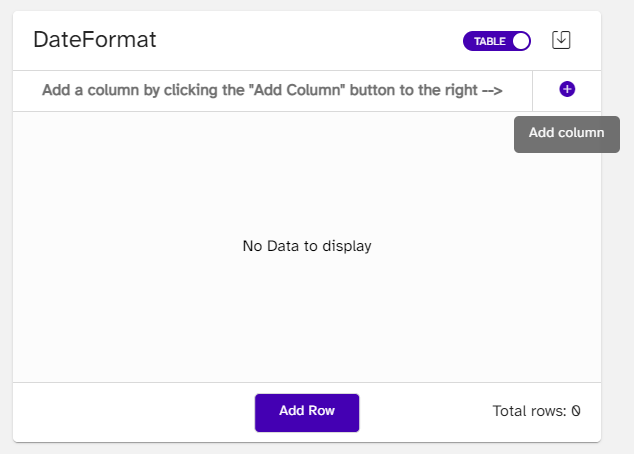
When creating the data source as a table the switch button should be purple and show the text TABLE. To begin the creation, the user can add columns for each data key that should be created. A new column can be added at any time in the creation, or editing, of the data source. To add a column the user clicks the plus sign to the right, that says Add column when hovered over.
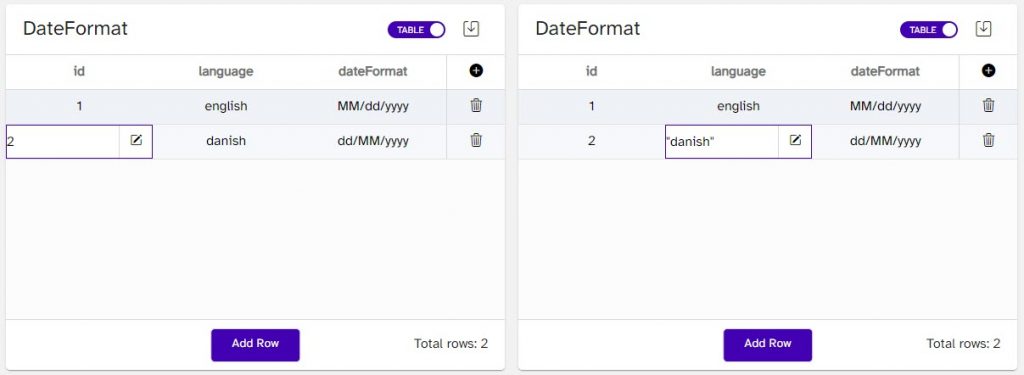
When the columns have been created, rows should be added next. These are added by clicking the Add Row button in the bottom of the view. The rows contains all the data for eact data source element, with values for each column key. The data in each row should be created as JSON data, which means that the data structure should correspond to the type of data that is inserted. For example should string be encapsulated in citation marks (“”). If any data has been defined incorrectly for a row cell, the page will show an error saying that there has been written invalid JSON. Below example shows the difference between defining string values and integer values.
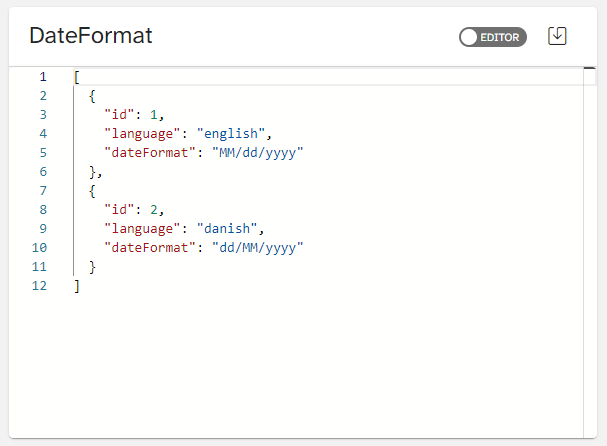
Creating a Data Source as a JSON data structure
The same data source that is shown in the example above when creating as a data table can also be created as a JSON structure. First, the user has to enable the editor view by clicking the switch button so it turns grey and says EDITOR. There are no requirements as to how the JSON data should be structured other than it should be wrapped in a JSON array (square brackets). The below image shows how the DateFormat data source (from above examples) would look as JSON data.