This tutorial will introduce the fundamental principles that need to be understood when creating templates in DocuMotor using a very simple example of a contact list in Word. This is a great place to get started with creating content. Note that here we focus on injecting your data into documents rather than transforming your data.
On completion of this tutorial you should have a basic understanding of:
- Adding document and data to DocuMotor
- The relationship between data and document content
- How to create simple field bindings
- How to create a simple image binding
- How to repeat data in a document
Before we begin
Firstly, please verify you have all the components you need to get started. These are described in the DocuMotor Project Initiation. You will of course need to create a new template in your tenancy to work with.
This tutorial will refer to the DocuMotor Template Editor throughout. Our guide on the editor can be found here and explains how to use it in detail. It is not necessary at this stage to read this guide thoroughly but you may want to refer to it at different points throughout.
The document
The document used throughout this tutorial (ContactList.docx) can be downloaded below, however the same principles can be applied to any document so if you would prefer to use a document of your own design please do so!

To add the document to the template:
- Select the upload button from the edit pane.

- Select the template required.
You will now see a simplified version of the template within the Template Editor tab where you can add edit and remove bindings, and a preview version within the Template Preview tab.
The Data
In this tutorial we will use the data as shown below. This consists of a single field for the report name and an array of 3 contacts, each with it’s own data including an image URL. We will populate all data included here, repeating the content in the template for each element in the array.
To add the data to the template:
- Select the Data Pane from the Template Editor.
- Select the TREE switch which should change the pane view to EDIT.
- Replace all content within the pane with the data below.
- Select the EDIT switch which should change the pane view to TREE and select save (CTRL + S or
 ).
).
{
  "reportName": "Contact List",
  "contacts": [
    {
      "name": "Jane Johnson",
      "jobTitle": "Technical Lead",
      "phone": "+45 70 60 50 40",
      "email": "jane@omnidocs.com",
      "image": "https://omnidocs.blob.core.windows.net/dmhosting/DALL·E 2022-10-06 11.16.49 - a corporate woman.png"
    },
    {
      "name": "John Davis",
      "jobTitle": "Software Developer",
      "phone": "+45 60 70 40 30",
      "email": "john@omnidocs.com",
      "image": "https://omnidocs.blob.core.windows.net/dmhosting/DALL·E 2022-10-06 11.17.43 - a young professional corporate man .png"
    },
    {
      "name": "Jenny Newell",
      "jobTitle": "Chief Technology Officer",
      "phone": "+45 20 40 90 20",
      "email": "jenny@omnidocs.com",
      "image": "https://omnidocs.blob.core.windows.net/dmhosting/DALL·E 2023-05-03 09.49.25 - photo of technology manager.png"
    }
  ]
}
Next we need to transform the data:
- Select the Transformation Editor tab in the Edit pane
- Add an @ sign to the root pane:

For this tutorial we do not want to change the data from the payload so this will pass all information from the sample payload without being transformed. You can read more about the @ (Current node operator) here.
Adding a field binding
Now both the Word document and the data are in our template, it is possible to add the first binding. In this case we will add the title of the document from the reportName field in our data. Bindings in Word documents are inserted as content controls with a tag value that contains the syntax DocuMotor needs to populate it.
- In the Edit Pane, select the Template Editor.
- Highlight Title in the document.
- Select the Add Binding button at the top of the editor (
 ). This presents a list of all possible bindings that can be added to the selected area of the document.
 - Select Field from the drop down menu to present the Field Binding dialog:
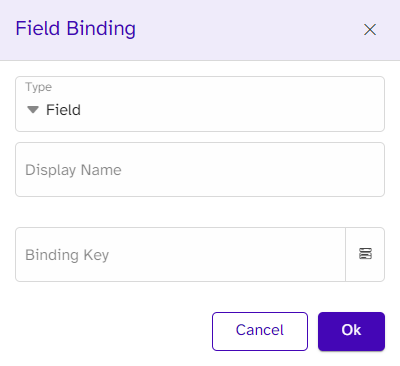
- Select the option to the right side of the Binding Key field to select the data to bind. This presents all data in a collapsed tree view within the current context. More on this later.

- Select reportName then Select. Note how the Display Name field automatically changes to Field: reportName. This will become the name of the content control. It is possible to amend this name before insertion.
- Select OK.
Now that the binding has been added, save the template in the UI and run the document (F4 or ![]() ). The Quick Preview tab within the result pane will show an approximation of how the outputted document will look whilst the Fulll Preview will give a more accurate representation.
). The Quick Preview tab within the result pane will show an approximation of how the outputted document will look whilst the Fulll Preview will give a more accurate representation.
Adding a repeat binding
Repeat bindings allow content within a document to be repeated as many times as necessary. Each repeated section can then be modified to contain unique data. DocuMotor will repeat defined content for each element within an array. In this tutorial the sample data contains an array called contacts containing 3 objects each with the details of a single contact. We will use this to repeat the content within the document and populate each repetition with different data.
- In the Edit Pane, select the Template Editor and select all the content you wish to repeat. In this example that is all the content in the main body of the document except the Title.
- Select the Add Binding button at the top of the editor and select the Repeat option to open the Repeat Binding dialog. Note that this dialog has an additional field compared to the field binding dialog. Each binding type has it’s own requirements and therefore the dialogs will show different options.
- As with the field binding, select the correct binding key, in this case selecting the
contactsarray and select OK.
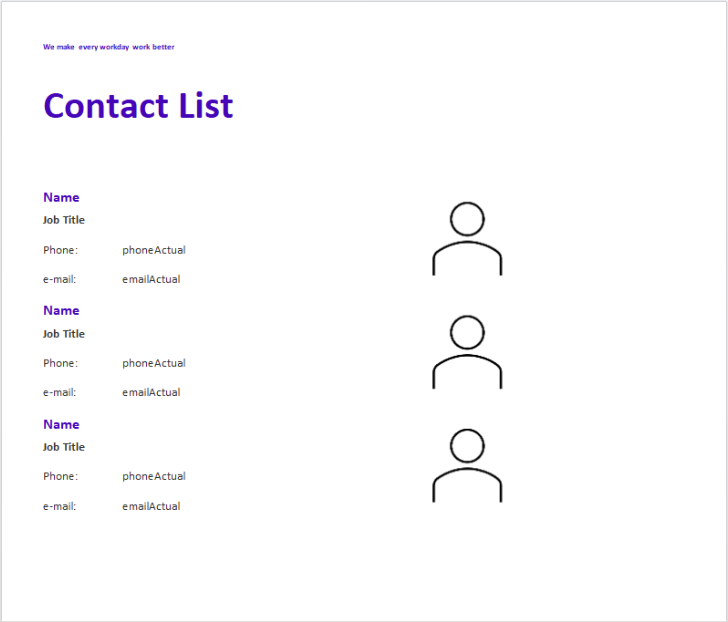
Running the template should now look like the image below. The content has been repeated 3 times, once for each object in the array.
Adding bindings within the repeat
Now that the template content has been repeated as expected, it’s time to populate these sections with meaningful content. Our sections in this example contain two different types of content, text and pictures.
Field bindings
To populate the text, simply follow the same steps as above for each relevant item. Note though that the data available to bind to is different in this case as can be seen below. As the field binding exists within a repeat binding, DocuMotor recognises the context of the data and so only the data within the contacts array is available.

After adding all text bindings, the result should look like:
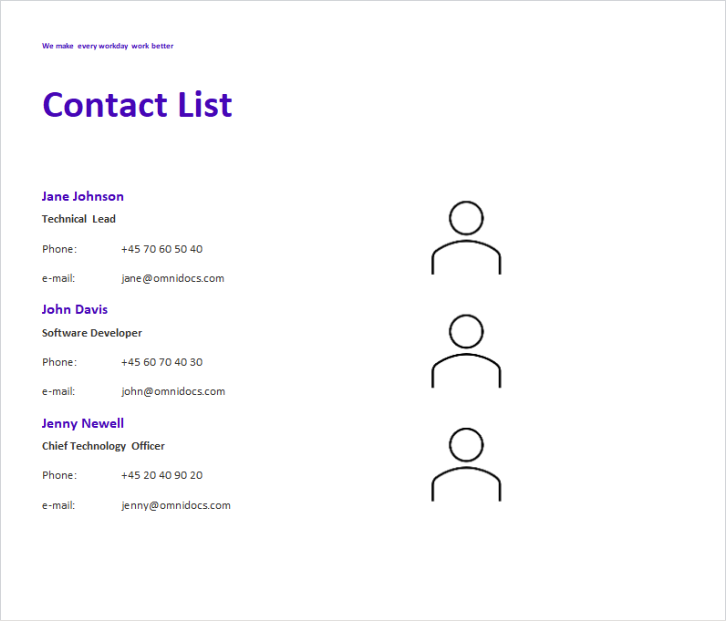
Image bindings
To bind an image in DocuMotor the document needs to contain an image place. When bound the placeholder will be encapsulated within a content control. A number of different image binding types can be used depending on the circumstances and what needs to be achieved. More information these can be found here. In this example we will use the FillImage type.
- In the Edit Pane, select the Template Editor and select the image in the template.
- Select the Add Binding button at the top of the editor and select the Fill Image option to open the Fill Image Binding dialog.
- Select the
imagebinding key and select OK.
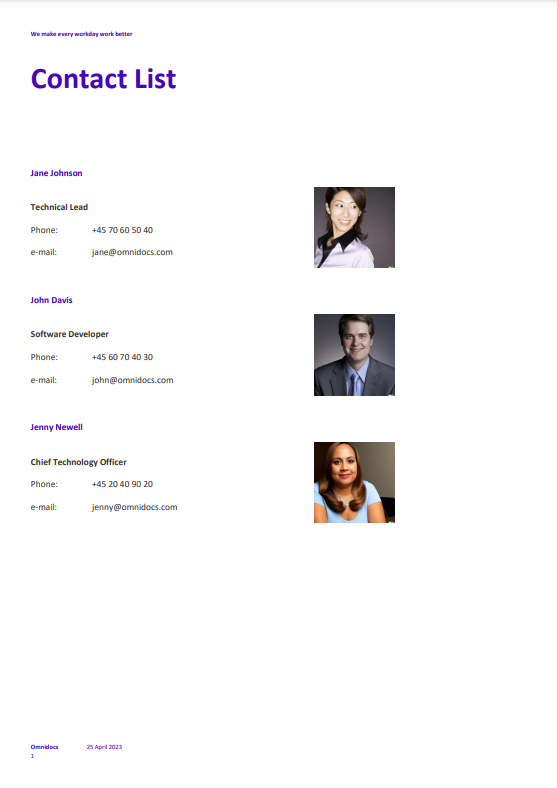
After adding this and running the template, the template is complete.
Result
The final output should now look like:
To understand the impact on the template itself, download it using the Download Template (![]() ) and open it within Word. This will now contain a content control around the Title text with a title of Field:reportName and a tag of {“BindingKey”:”reportName”,”BindingType”:”Field”}, the syntax required by DocuMotor.
) and open it within Word. This will now contain a content control around the Title text with a title of Field:reportName and a tag of {“BindingKey”:”reportName”,”BindingType”:”Field”}, the syntax required by DocuMotor.
It will also contain a content control around all the content, including image, with the title of Repeat:contacts and the tag of {“BindingKey”:”contacts”, “BindingType”:”Repeat”}.
Finally, inside the repeat content control there are multiple content controls containing titles and tags, similar to above mentioned, with the chosen binding types and binding keys.